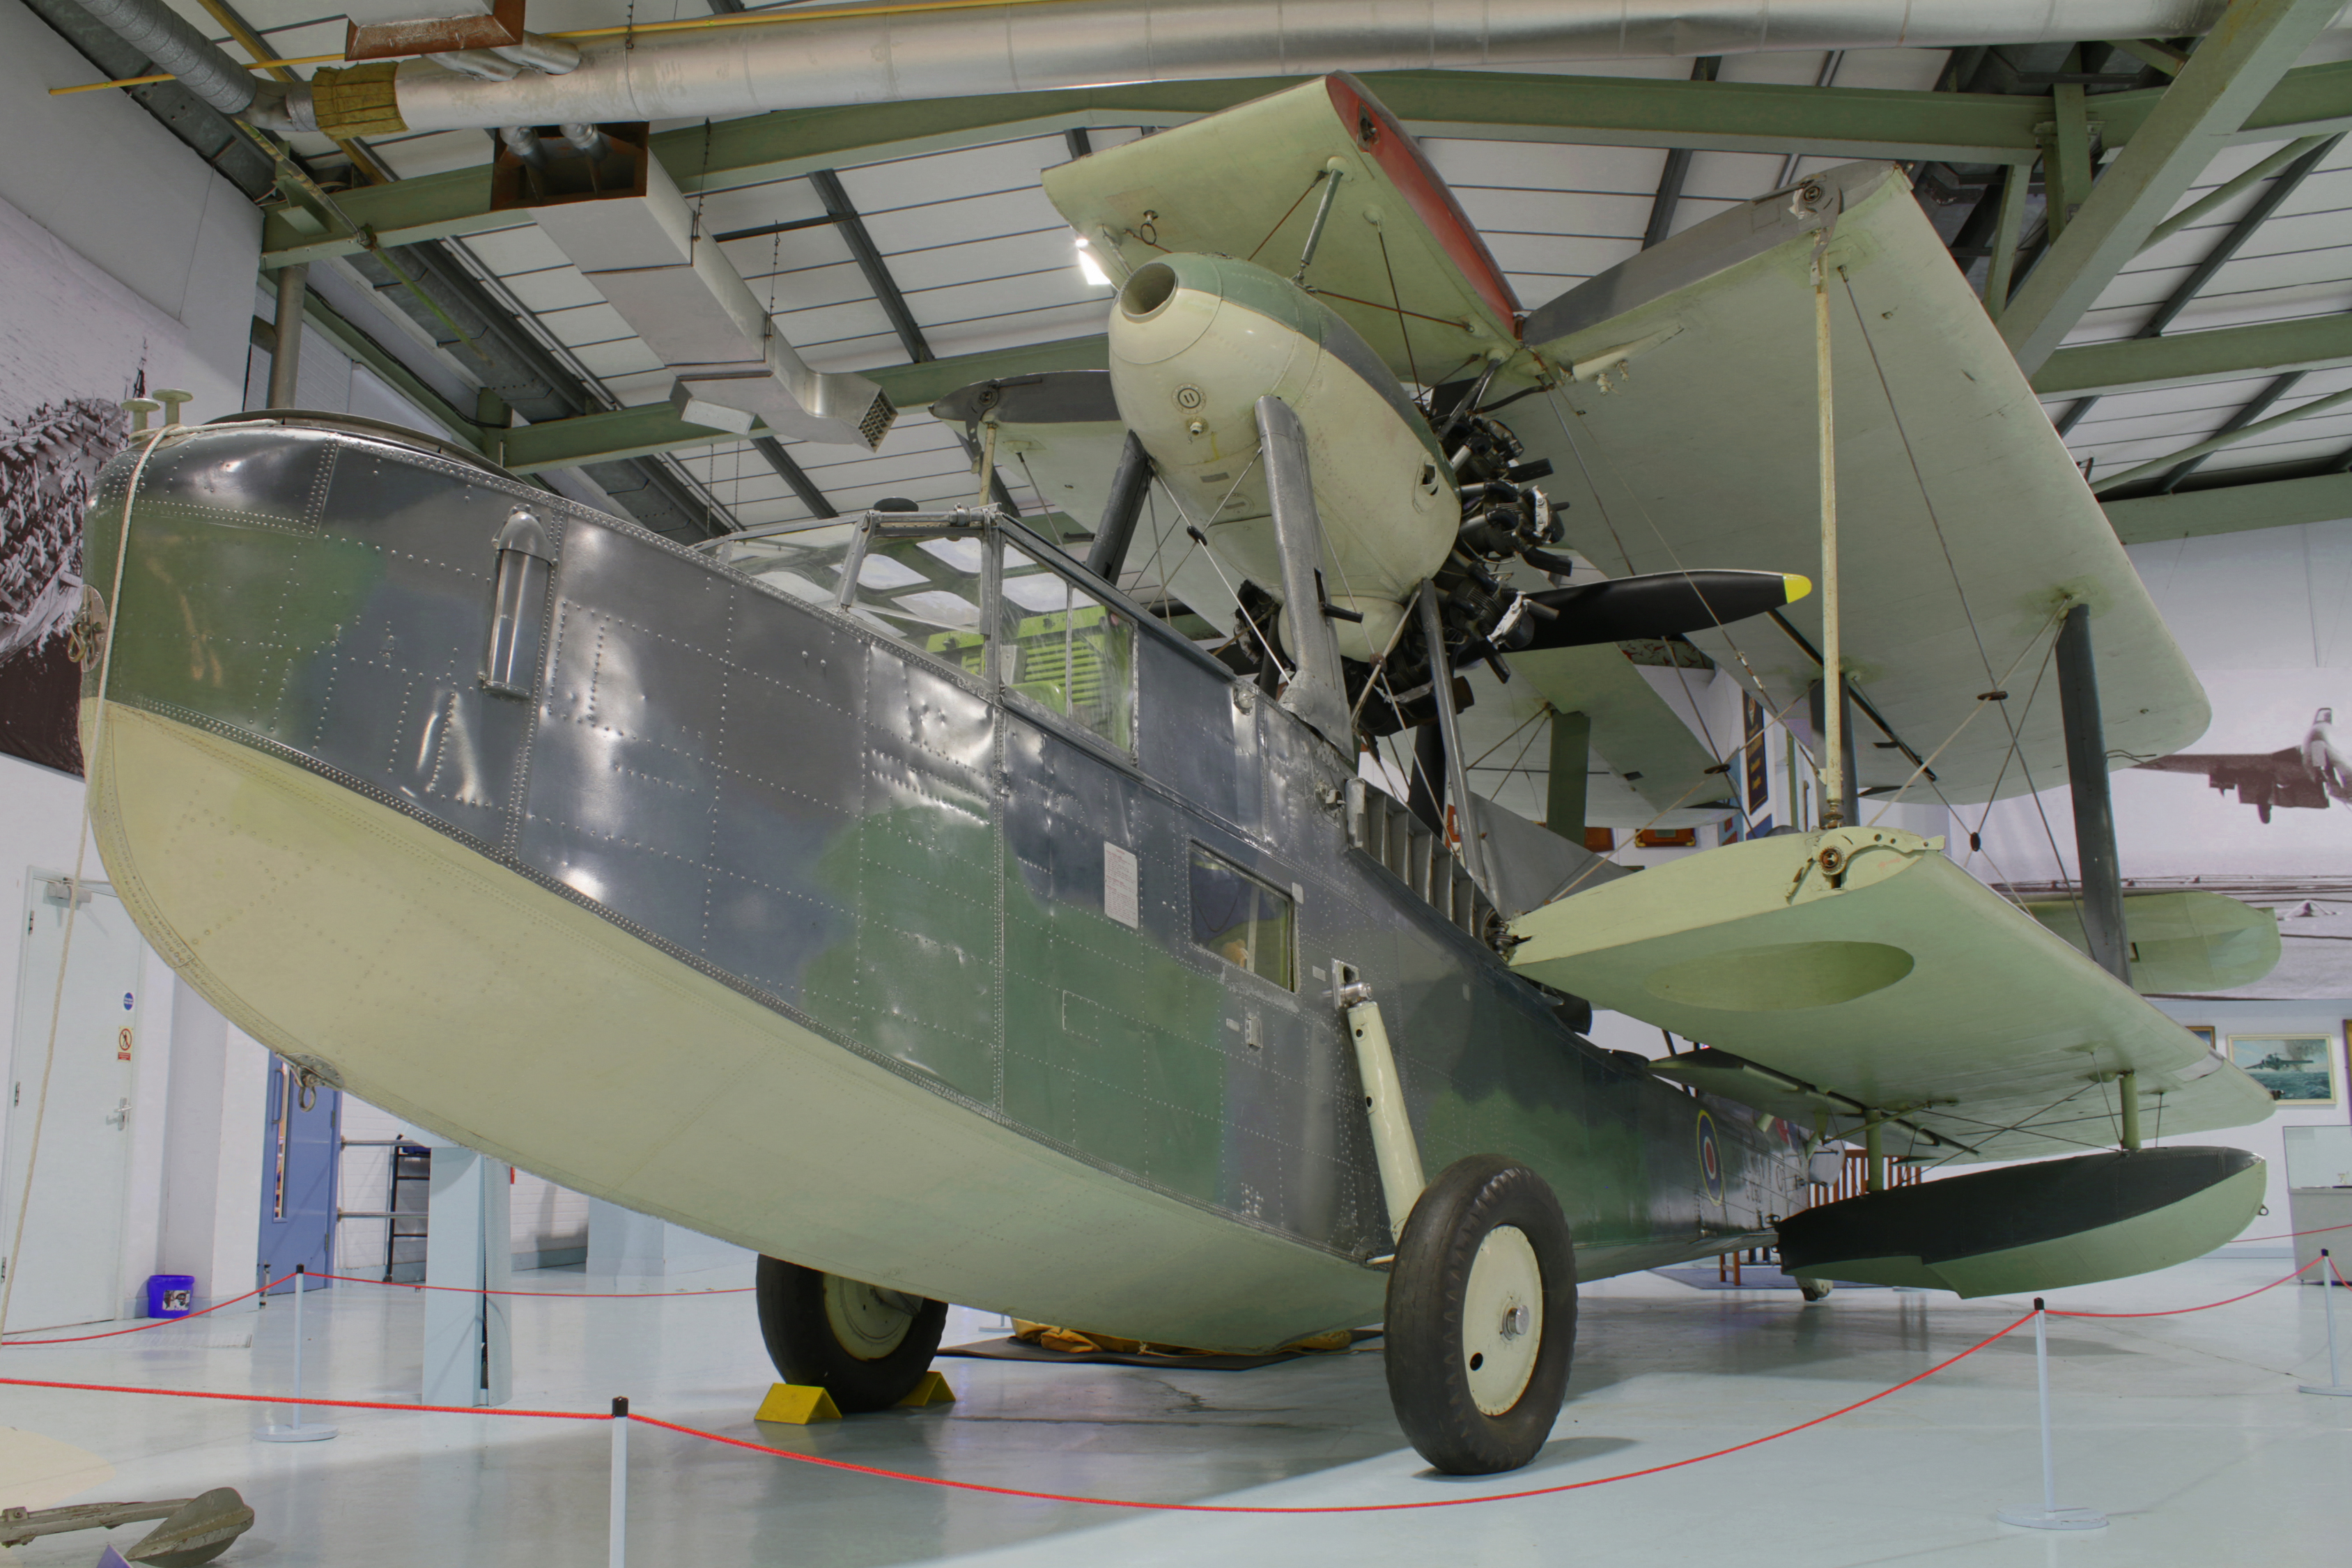
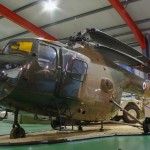
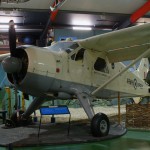
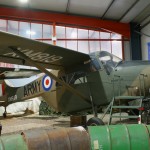
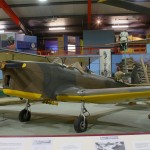
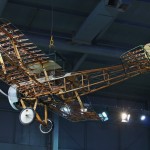
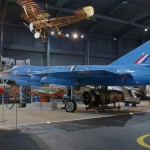
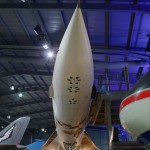
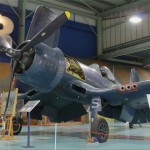
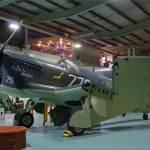
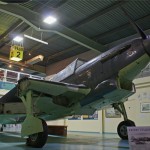
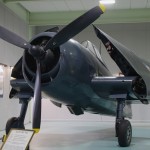
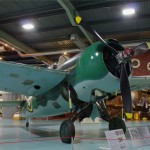
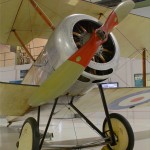
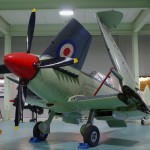
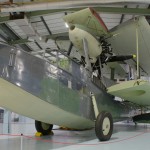
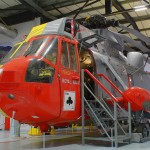
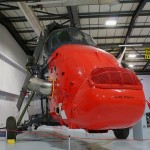
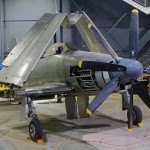
I have been back in the UK for a brief visit, during which I have had an opportunity to visit the Museum of Army Flying at Middle Wallop, and the Fleet Air Arm museum at RNAS Yeovilton. For both of these visits, the weather was very bad, and it was as well that both museums are almost entirely indoors.
However, with aircraft being quite large, they have to be stored in large buildings, typically re-used hangars, or similar. Such spaces are very difficult to light; natural light is generally not an ideal solution, as there is a risk of UV damage to aircraft, and large buildings with large windows can easily become ruinously expensive to heat, particularly if a climate-controlled environment is sought.
As a consequence, there is a tendency for exhibits to be crowded together, and somewhat patchily lit, and this is the case in some areas of both museums. Tantalisingly, both museums also feature reasonably lit areas which are less crowded.
Photography in these circumstances demands a reasonable camera, a tripod, and the knowledge to be able to get the most out of the camera. In an ideal world, portable lights would be used, but these are not generally available, would require cooperation from the museum to provide power, and are certainly impractical for the air traveller.
So what do you do? In my case, the answer is to operate the camera in manual mode, using the tripod to allow long exposures, and combining this with a process called photo-stacking, in which post-processing software such as Photoshop is used to combine 3 or more images to broaden the exposure range of the image. This process is advantageous in delivering a more natural look to the pictures because the camera normally has less effective bandwidth (sensitivity range) than the human eye.
Images created in this way are sometimes referred to as High Dynamic Range or HDR images, and provide detail in dark areas of the image while not washing out detail in light areas. The technique, if used to excess, and particularly if the contrast is also turned up, can result in garish, artificial-looking pictures. I avoid this by using a typical spread of -1.3, 0, and +1.3 exposure (aperture stops) around the camera-interpreted mid point exposure. Where the subject is brightly back lit, or positioned with a dark background, an additional image is sometimes used to provide a balanced set of exposures.
Critical to all this is ensuring that the camera does not move between shots. This is achieved by carefully setting up the tripod to ensure steadiness, and using a delay timer to release the shutter after a short pause so the act of triggering the shutter does not shake the camera. There are other ways of achieving this, including use of a remote to trigger the shutter, and, in some cameras exploiting features which allow multiple images with varying shutter speed.
Exposures are made with varying shutter speed rather than varying aperture because this allow each picture to have the same depth of field. In a poorly lit environment, it may be necessary to increase sensor sensitivity by raising the ASA number (sensitivity setting – low is slow, high ASA numbers are fast). The photos in the gallery were all taken at ASA 100.
The gallery shows the results obtained.
All images are copyright Jim Smith
